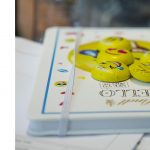
Our Miss Piggie cake is adapted from a 80’s birthday cake book for children, Women’s Weekly Children’s Birthday Cake Book. If you were a child in the 80’s and early 90’s, there is a good chance that your mum had this book or knew someone who did. My brother and I many of these cakes for our birthdays, throughout our childhood.
When I saw this book in Exclusive Books – I had to buy it. No childhood is complete without at least one or two of these epic birthday cakes! I plan to make some of these cakes for my future child/children.
However, I am going off topic slightly. The reason we were making this cake was for Ange’s 30th birthday!

Women’s Weekly Chilren’s Birthday Cakes Book
Why a the miss piggie cake
Ange decided that she wanted to re-make one of the cakes from her childhood for her 30th. The main deciding factor was that she wanted the cake to be decorated with some marshmallow flowers…yes they are so 80’s but we feel are making a come back! After going through the book many times and discussing the few options…we both finally agreed that the Miss Piggie Cake was so cute and really awesome!
What cake did we make?
We decided to make a rich delicious moist chocolate cake as the base of the Miss Piggie Cake. This recipe is very easy and the best chocolate cake ever. Ange originally found it on a blog called – Add a Pinch – check it out she has a lot of nice recipes. We have since used this recipe for many a cake…and will continue to use it.
Some tips for making the cake :
- The espresso powder really is worth it – you can get a Pick n Pay brand or Nescafe does one. You can use liquid espresso but then you need to add less water and remember that the flavour is not as intense if you use liquid espresso compared to the powder.
- When adding the boiling water – be sure to add it slowly – you might think it is fine if i just add it all – NO NO NO DON’T! It could mean an explosion of chocolate cake batter all over you and your kitchen, so add it slowly.
- The recipe can be doubled – we doubled it for the bottom layer of Miss Piggie – and then it fits into a 13 inch round tin
- Miss Piggie’s head is an 9 inch tin and we did another round 9 inch to cut her nose, ears and trotters from.
Ingredients
- 2 cups cake flour
- 2 cups sugar
- ¾ cup cocoa powder
- 2 tsp baking powder
- 1½ tsp baking soda
- 1 tsp salt
- 1 tsp espresso powder
- 1 cup milk
- ½ cup vegetable oil
- 2 eggs
- 2 tsp vanilla extract
- 1 cup boiling water
Method
- Preheat oven to 180º C.
- Prepare your cake tin/s (2 x 9inch) by spraying with baking spray or buttering and lightly flouring.
- In a stand mixer or a bowl combine flour, sugar, cocoa, baking powder, baking soda, salt and espresso powder. Stir until well combined.
- Add milk, vegetable oil, eggs, and vanilla to your flour mixture. Mix on medium speed until well combined. Reduce speed and carefully add boiling water to the cake batter.
- Once all the boiling water has been added, beat on high speed for about 1 minute to add air to the batter.
- Pour the batter into your cake tin/s.
- Bake for 30-35 minutes or until a cake tester inserted in the centre comes out clean.
- Remove from the oven and allow to cool for about 10 minutes, remove from the tins and cool completely.
How to assembling Miss Piggie
Base:
We used a cake board as a 13 inch round cake is actually huge. So we placed Miss Piggies bum on the board but towards the bottom and not in the middle as we needed some space for her tail. BUT, be careful not to place it too close to he bottom as you need to add her trotters.
Head, ears & nose:
From your extra cake – cut a round nose (I used a glass) as well as cut out 4 triangles – 2 for ears and 2 for totters. Try and make sure that you have 2 pairs that match so you don’t have 1 giant ear and 1 small ear…the same with the trotters.
Place the 9 inch round ‘head’ cake on top of the one you have already placed on the cake board. Again it needs to be closer to the bottom and not in the middle as you need space for the ears.
Now place the ears, totters and nose in the appropriate place on your Miss Piggie Cake.
Decorating our Miss Piggie Cake
Below is a list on ingredients you will need to decorate Miss Piggie:
- pink butter cream icing (we used a combo of soft pink and electric pink gel to get this colour)
- Marshmallows, cut with scissors into ovals
- Smarties
- Assorted colours of hundreds and thousands or you could make coloured sugar with a drop of gel and sugar
- Licorice Allsorts, for eyes
- Red licorice strings (or something similar), for a tail
Now let your creativity go wild and have lots of fun! We iced between each layer as we planned to take Miss Piggie apart to serve. However, this is not necessary in my opinion. If you do ice in between – remember that once you have placed the head, etc it is not easy to move as there will be icing everywhere.
Step 1
Ice the entire pig with pink butter cream. You can make it as thick as you like – some people like me like a thick icing while others don’t. However, what you will find is the cake crumbs a bit on the pieces you have cut, such as the nose, so be careful when icing them.
Step 2
Dip the sticky side of your cut marshmallows into your hundreds and thousands so they stick to the one side. These will form the petals of your flowers. You will need 4 pieces of marshmallow in the same colour. Once you have done this, you can place them on your Miss Piggie, where you would like them. Be careful not to mess up your icing. Finally place a little icing o the back of a smartie and stick it in the centre of each petal. It is nice to use contrasting colours as it makes it prettier 🙂
Step 3
Place two Licorice Allsorts on the head as eyes, we used blue but you could use another colour. In addition, place two pink smarties on the nose for nostrils. Finally, twist together and place your red licorice strings as Miss Piggie’s tail.
Step 4
Miss Piggie is ready, so eerve and enjoy this beautiful cake. Also feel free to be creative and to use ours as inspiration for your own cake!
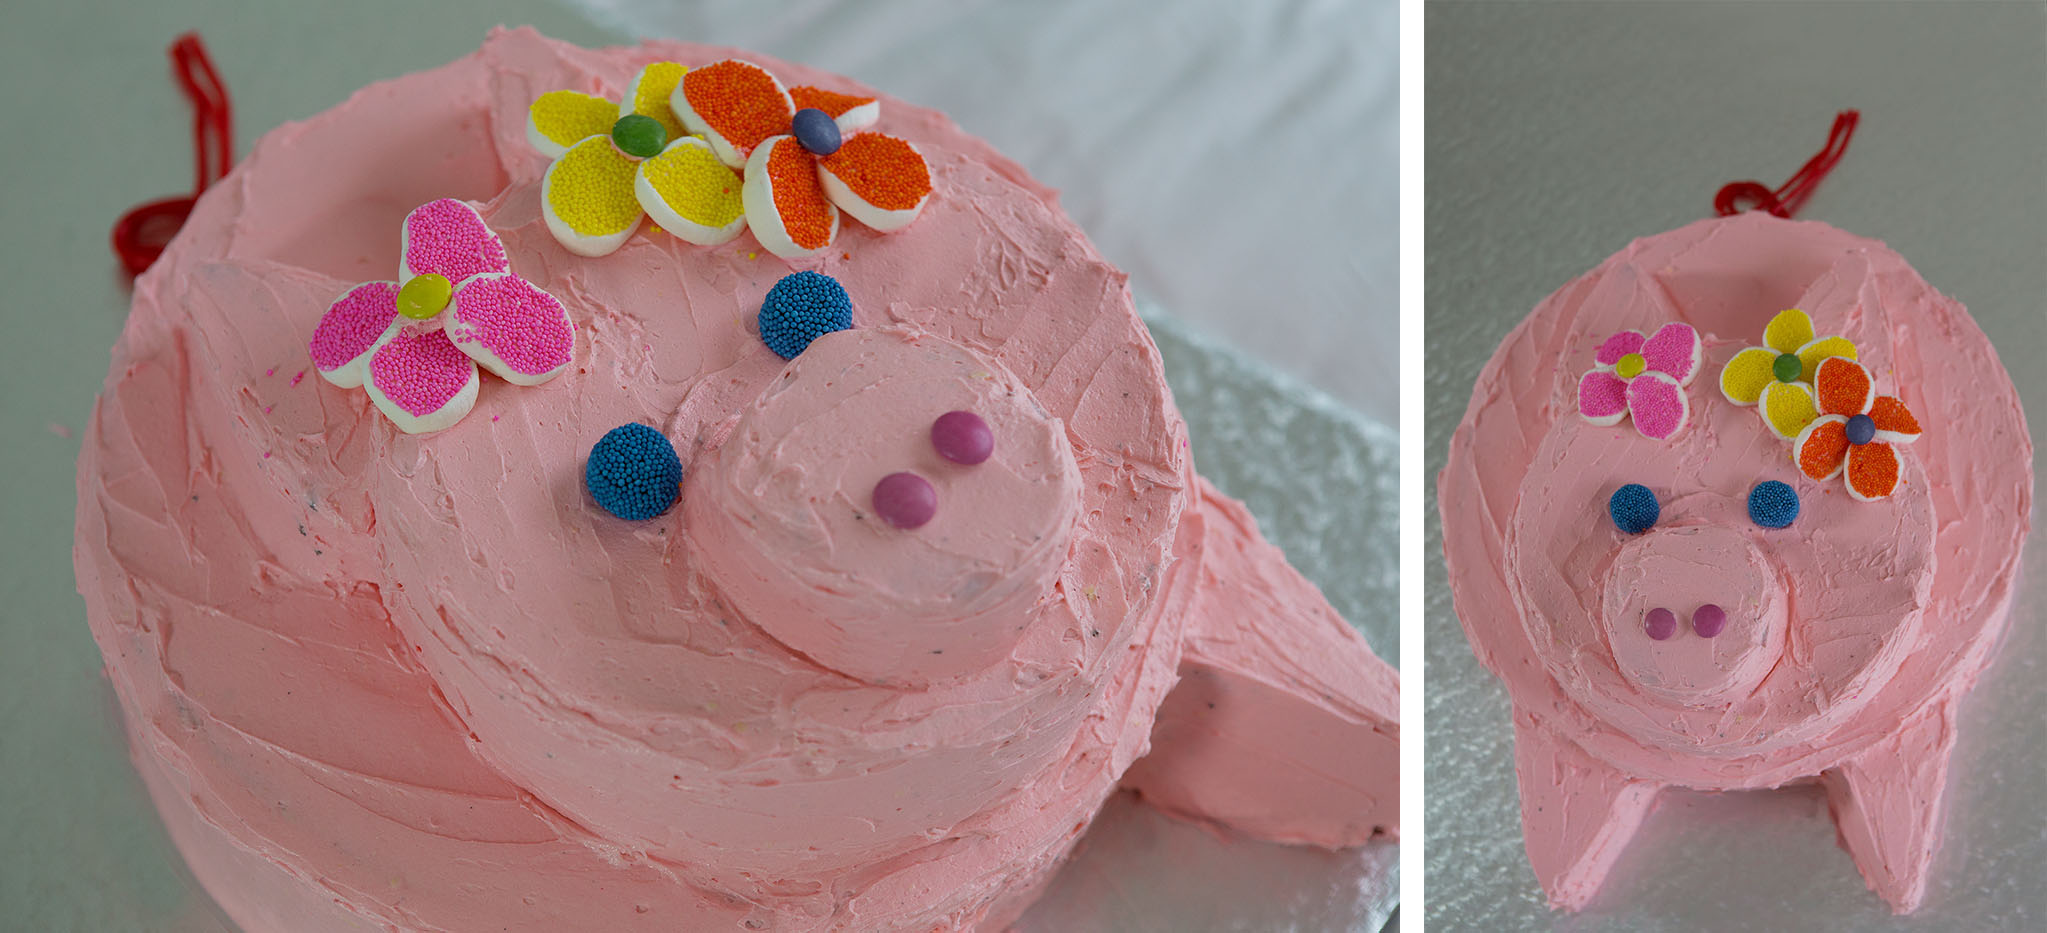
Miss Piggie Cake for Angelique’s 30th Birthday
Related articles across the web